How to Manage Teams

Introduction

In this tutorial we’ll be showing you how to use the Arlula Dashboard to effectively manage teams.
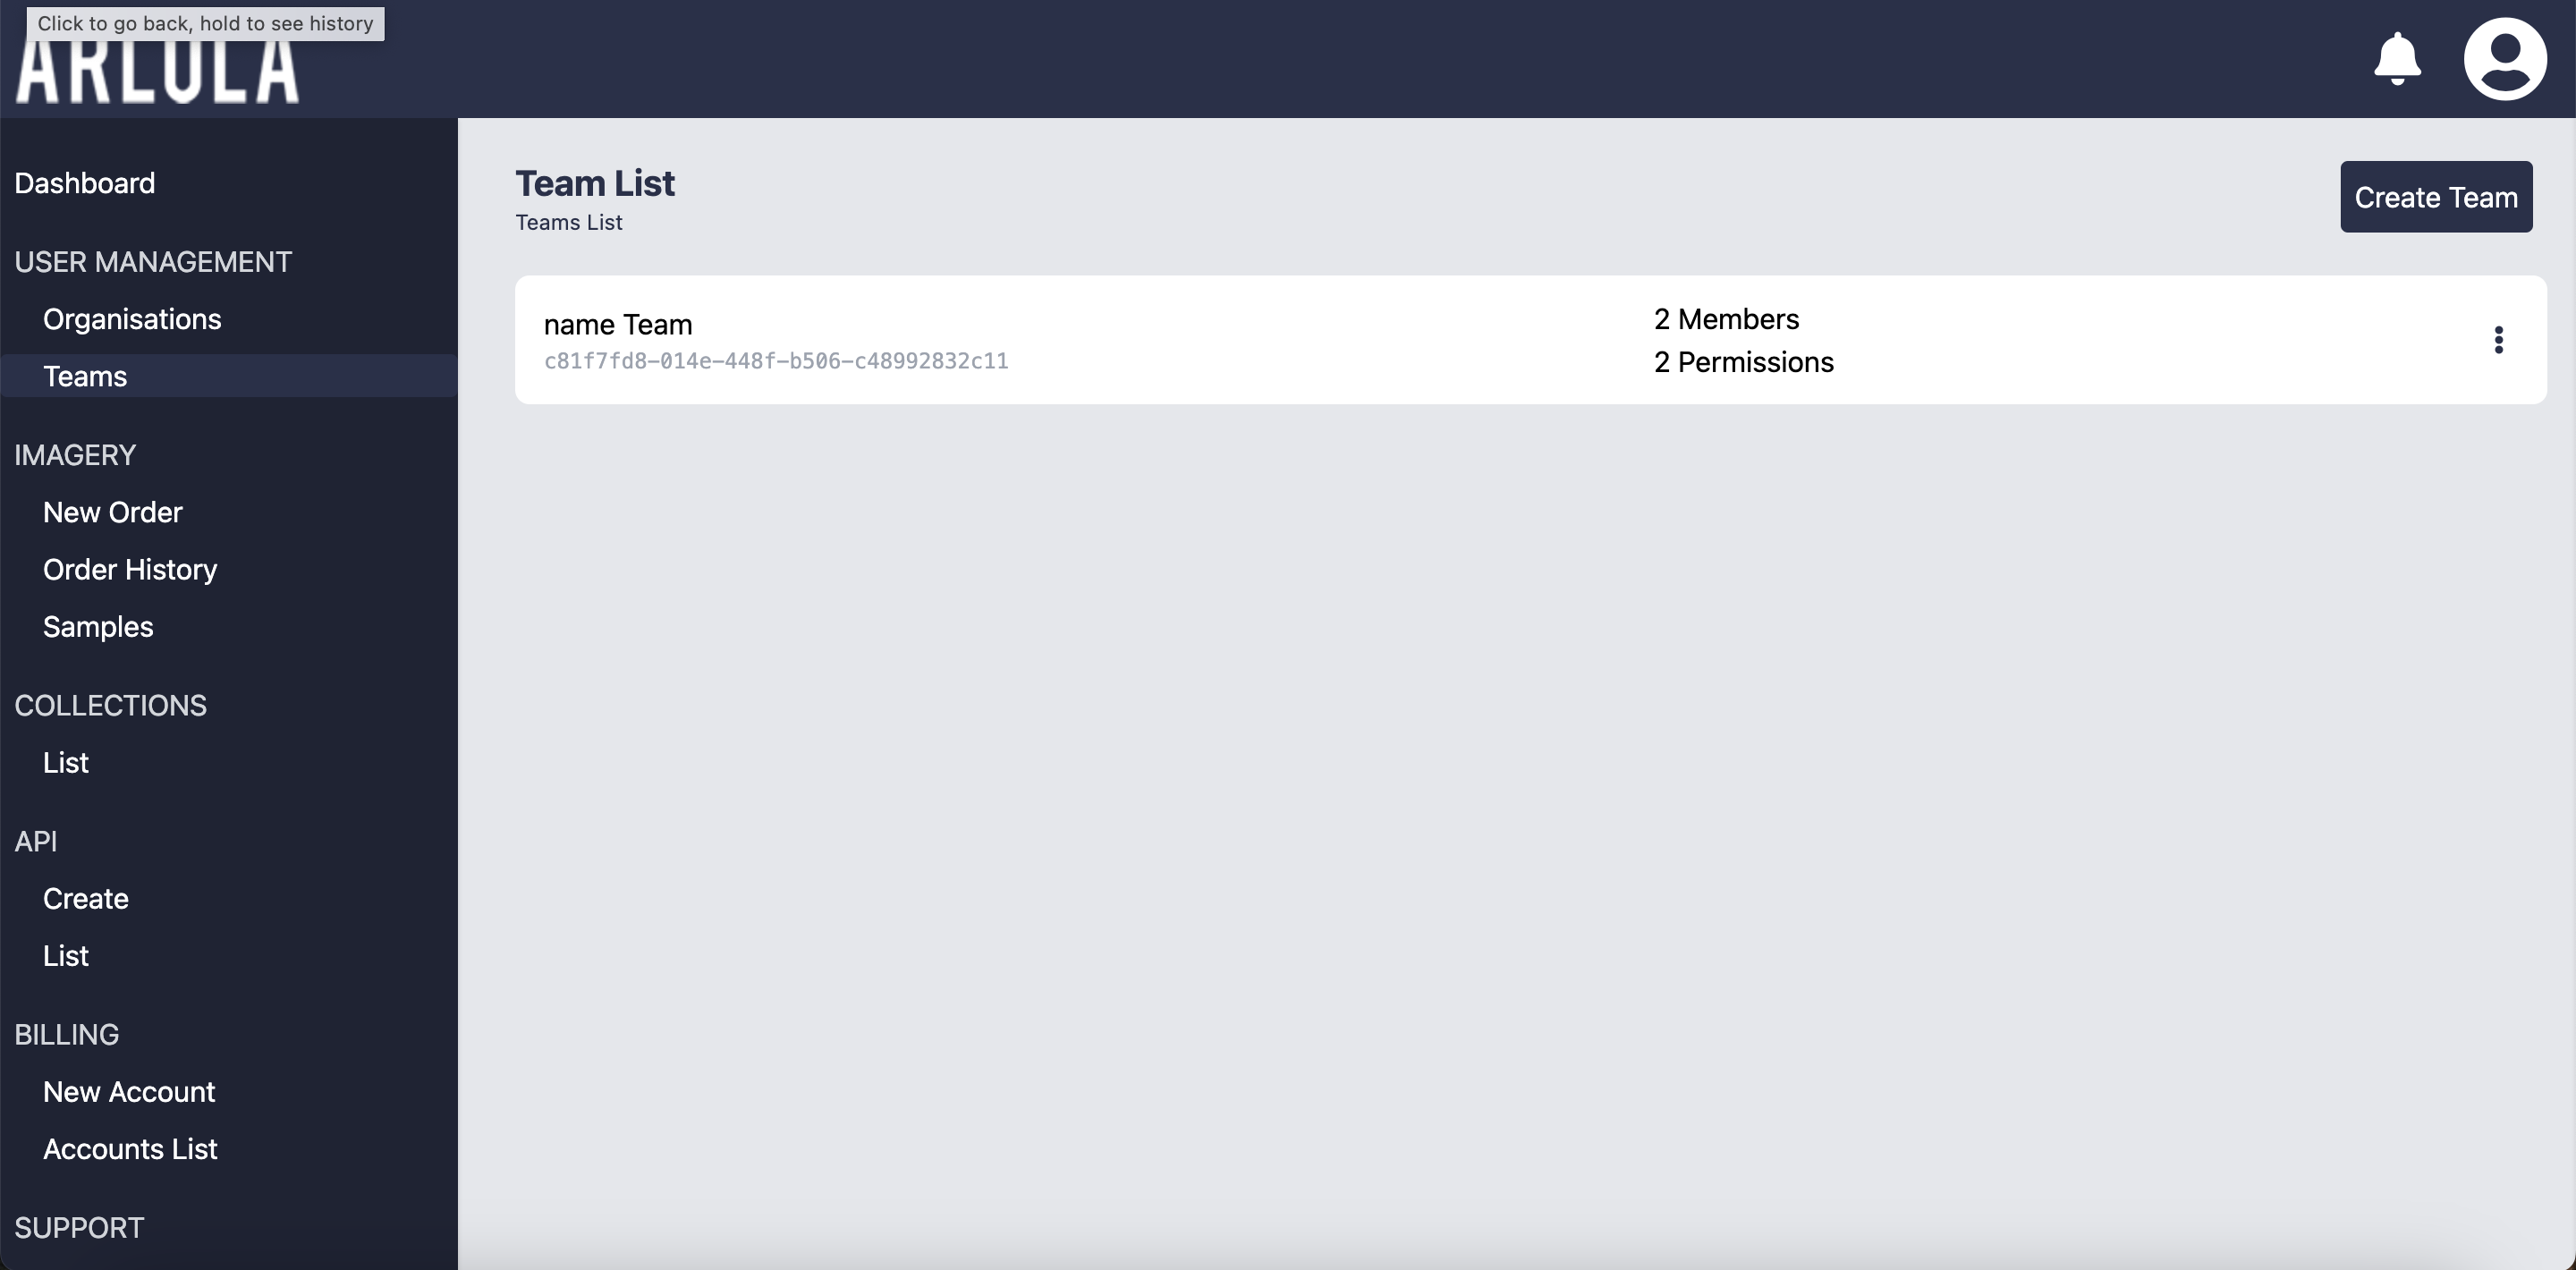
What you’ll need:
Access to the Arlula API account login page.

To begin team management, select Teams in the menu on the left-hand side of the Dashboard page.

From this page, you will be able to see all teams that you are either a member or administrator. Each item displays the team name, unique identifier, the number of members, and the number of permissions granted to the team.

Each team has an action menu, which can be accessed by clicking on the vertical ellipses on the right-hand side. You will only see actions that you have permission to perform, and each will redirect you to a new page or ask for confirmation. The actions are:

  • Rename Team: Here you can change the team name. You will need to be an admin to access this.
  • Manage Members: View and manage members of the team. This will redirect to the Team Member page. You will need to be an administrator to access this.
  • Billing Accounts: View and manage the Billing Accounts this team has access to. This will open the Billing Accounts page, and will only show Billing Accounts available for the selected team. This is accessible by team members and administrators.
  • Order List: View and manage Orders this team has access to. This will open the Order History page and will only show Orders available for this team. This is accessible by team members and administrators.
  • APIs: View and manage API Accounts this team has access to. This will open the API Accounts page and will only show API Accounts available for the selected team. This is accessible by team members and administrators.
  • Delete Team: Select this option to delete the team. This is only accessible by administrators.
  • Leave Team: Select this icon to leave the team. This is only accessible by members.

Manage Members

Adding New Team Members

To manage members of a team, navigate to the Team Member page. Here, you will see a list of team members. If you need to add members, select the Add Member button in the top right corner of the page.

A popup will appear allowing you to enter an email address, a user’s unique identifier, or an api’s identifier. If the provided information is valid for an existing user, then they will be added to the team as a member. If the email provided belongs to a user without an account, the dashboard will prompt you for a title and optional email body for an invitation email. Once they successfully sign up, they will automatically be added as a member of the team. New team members will have access to all orders, billing accounts, and API accounts that the team has access to.

Team Member List

On the Team Member page, under each member’s name you will be able to see their email, and whether they are an administrator. Each member has an action menu, which can be accessed by the vertical ellipsis on the right-hand side of the screen.

  • Promote to Admin: Select to promote members to administrator positions
  • Remove as Admin: Select to remove administrator position and privileges. Note: a team must have at least one administrator and the last one cannot be removed.
  • Remove Member: Select to remove a member from a team.

Manage Permissions and Sharing

Orders:

To share Orders with a team, select Order History in the menu bar on the left-hand side of the Dashboard page. This will open the Order List. Select the vertical ellipses on the right-hand side of the desired order. This will open a menu. Click on Sharing. This will open the Order Permissions page. From here, you can view and administrate all Order Permissions between users, apis, or teams, and the Order. Permissions for a team, api, or user can be added by the Grant Access button at the top right of the page. This will open the Grant Access page. You can enter the desired user or team ID in the search bar at the top of the page. Then, use the toggle switches to enable or disable permissions for Sharing, Read, and Resources

Here is a breakdown of what each permission entails:

  • Sharing: The ability to control access to and use of the order
  • Read: The ability to view the order and its details
  • Resources: The  ability to download order resources        

Once desired adjustments are made, select the Grant Access button at the bottom right-hand side of the page. 

To edit permissions of existing teams or members, go to the Order Permissions page. Click on the pencil icon on the right hand side next to the team or member you would like to change the permissions for. It will open a page, similar to the Grant Access page, where you can use the toggle switches to enable or disable permissions. Once the changes have been made, click the Update Permissions button in the lower right-hand corner of the page. 

Billing Information: 

To share Billing Information with team members, follow similar steps to those above. Select Billing Accounts in the menu on the right-hand side of the Dashboard. Click the vertical ellipses to the right of the account you would like to share, and then select Sharing. This will open the Access To page. From here, you can view and administrate all Billing Account Permissions between users, apis, or teams, and the selected account. Permissions for a team, api, or user can be added by the Grant Access button at the top right of the page.This will open the Grant Access page. You can enter the desired user or team ID in the search bar at the top of the page. Then, use the toggle switches to enable or disable permissions for Sharing, Update Details, Edit Card, Top-up, Charge, and Delete.

Here is a description of what each permission includes:

  • Sharing: The ability to control access to and use of the billing account
  • Update Details: The ability to update account details
  • Edit Card: The ability to change the card used for billing
  • Top-up:The ability to top up the account with credits
  • Charge: The ability to create charges to the billing method
  • Delete: The ability to delete the billing account

Once desired adjustments are made, select the Grant Access button at the bottom right-hand side of the page.

To edit permissions of existing teams or members, go to the Billing Accounts Access page. Click on the pencil icon on the right hand side next to the team or member you would like to change the permissions for. It will open a page, similar to the Grant Access page, where you can use the toggle switches to enable or disable permissions. Once the changes have been made, click the Update Permissions button in the lower right-hand corner of the page.

If you have any questions about this specific tutorial or would like to learn more please feel free to contact the Arlula team at hello@arlula.com.